 Menu.
Menu.


Mint has two ways of backing up and recovering your files.
This actually backs up your files and restores them. You can find Backup in your Menu.
Choose from Personal data or Software selection.
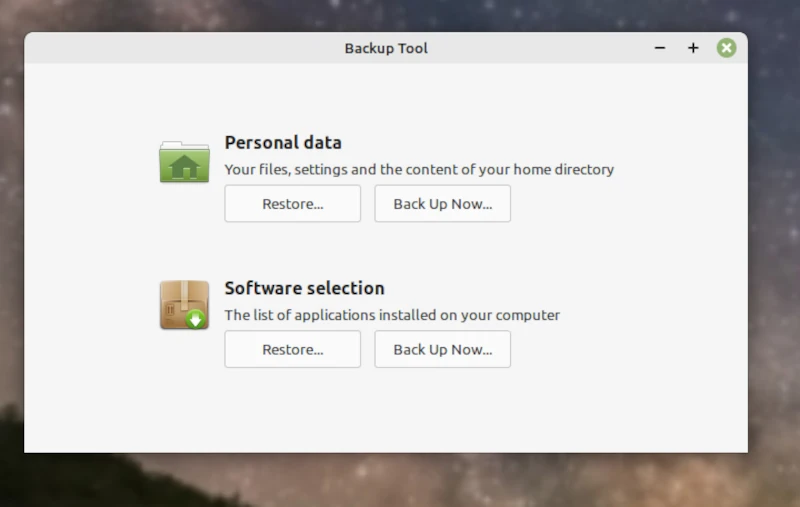
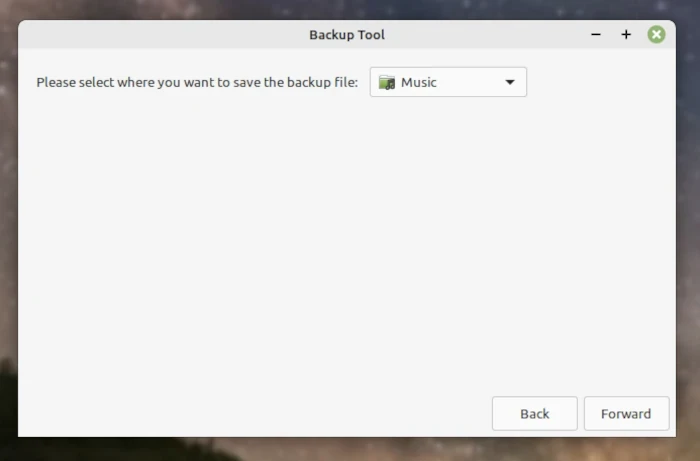
If you select Personal Data and Back Up Now
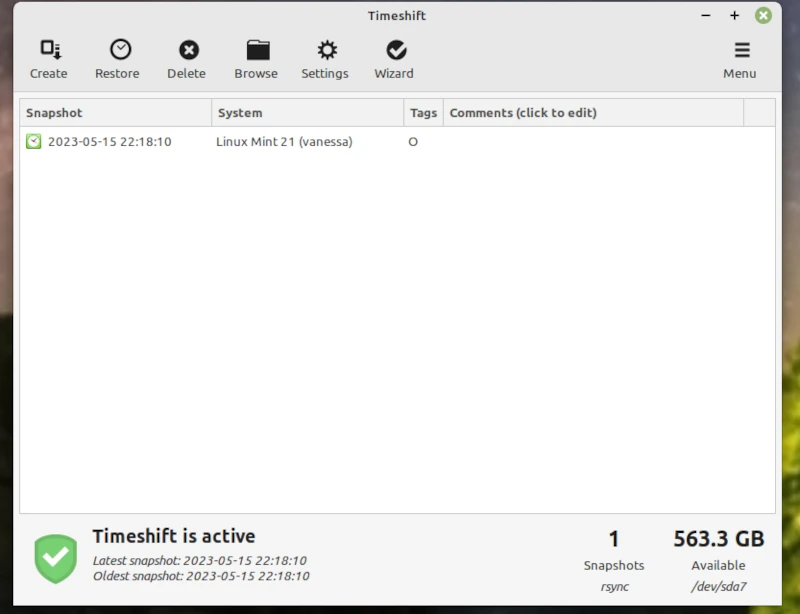
Timeshift makes a snapshot files and saves your whole system and you can then go back in time. You can set it to take these at pre-set times. You can have several Timeshift snapshots files so you can choose where to go back in time when you restore. You should now make your first Timeshift to save your whole system.
You can find Timeshift on your panel 
Run Timeshift Ignore the first page click NEXT.
On the next page it will list the devices you can install on. I have made a partition with Gparted on Yumi, where I save the Timeshift files. I clicked on NEXT which sets out when you want to make a Timeshift automatically then I clicked on Finish to get the Timeshift main page. I clicked on Create to make my first Timeshift that to obtain the Timeshift Main Page here.
You can also use a USB formatted as Ext 4 if you want to Timeshift on a USB. You can also use Discs.
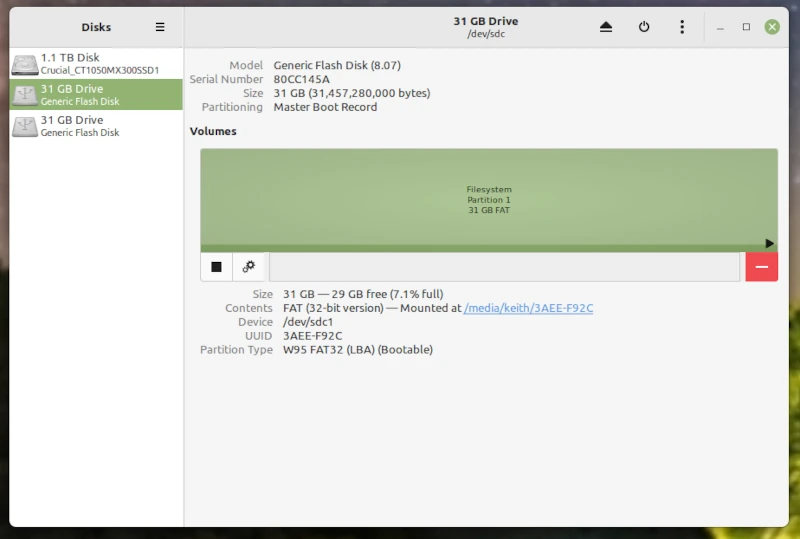
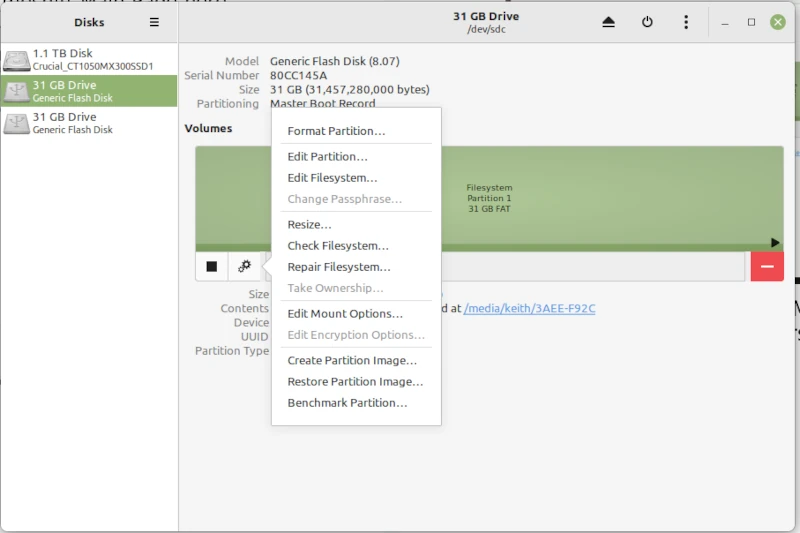
Discs select a USB on the left Menu and click ENTER. Then click on the Gears icon
In the next menu choose FORMAT.
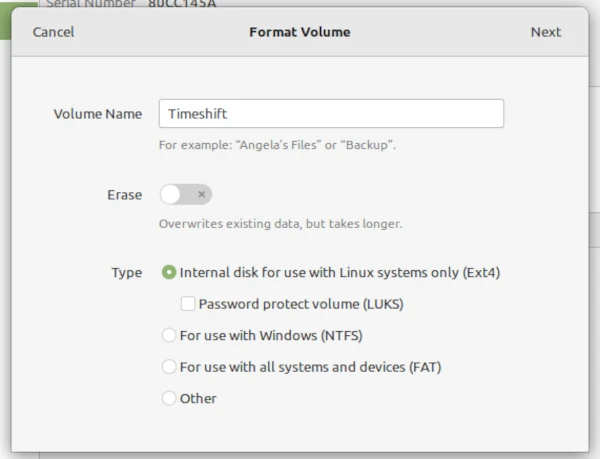
On the next page Choose a name for the USB. Then tick the radio button to Format with the Linux System. Then click NEXT. You can use this USB to save your system files Timeshift.
Restoring Timeshift can be done from the Timeshift page. Search for Timeshift then run and select the Timeshift snapshot you want to restore then click on NEXT. Then choose where you want to restore on the partitions displayed in the pop-up menu then click NEXT.
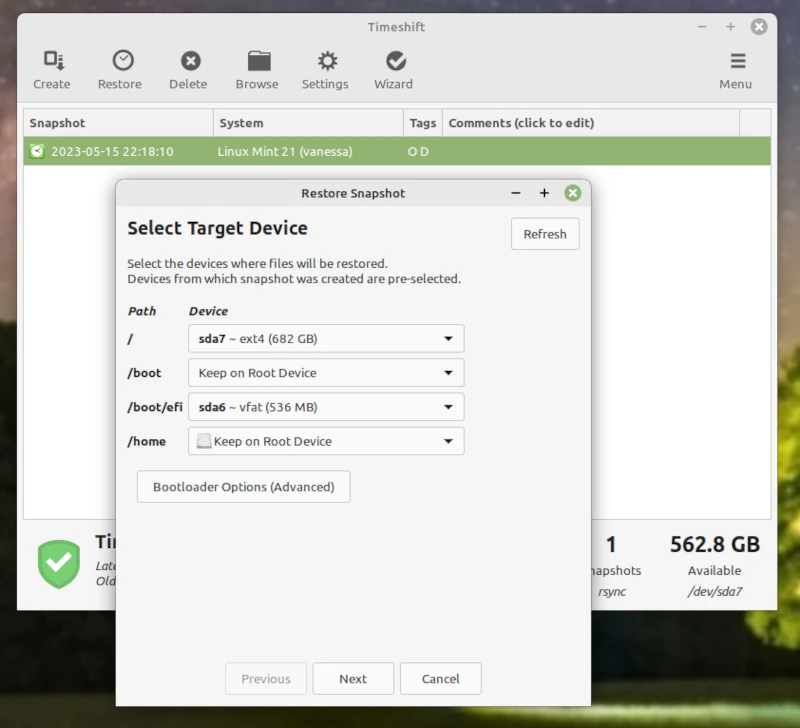
After restoration you should CREATE again in case you have a problem before the next auto Timeshift snapshot is taken.
We have made a YouTube Video to show how to Install MInt. We used VirtualBox to run the installation of Linux Mint and recorded it with Simplescreenreader then edited it with KdenLive.
See the YouTube video at Virtualbox
VirtualBox is a powerful x86 and AMD64/Intel64 virtualization product for enterprise as well as home use. Not only is VirtualBox an extremely feature rich, high-performance product for enterprise customers, it is also the only professional solution that is freely available as Open-Source Software under the terms of the GNU General Public License (GPL) version 3. See "About VirtualBox" for an introduction. Presently, VirtualBox runs on Windows, Linux, macOS, and Solaris hosts and supports a large number of guest operating systems including but not limited to Windows (NT 4.0, 2000, XP, Server 2003, Vista, Windows 7, Windows 8, Windows 10), DOS/Windows 3.x, Linux (2.4, 2.6, 3.x and 4.x), Solaris and OpenSolaris, OS/2, and OpenBSD. VirtualBox is being actively developed with frequent releases and has an ever-growing list of features, supported guest operating systems and platforms it runs on. VirtualBox is a community effort backed by a dedicated company: everyone is encouraged to contribute while Oracle ensures the product always meets professional quality criteria. In a terminal sudo apt install virtualbox accept with Y then add it to the panel. Run it then see the screen here.
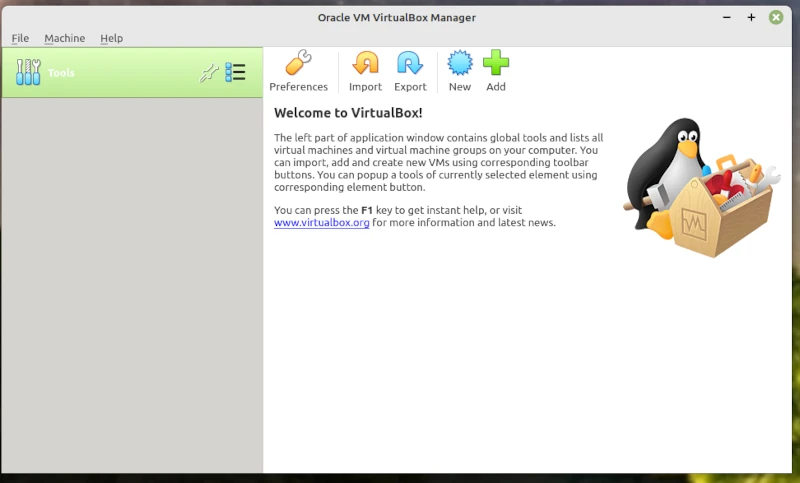
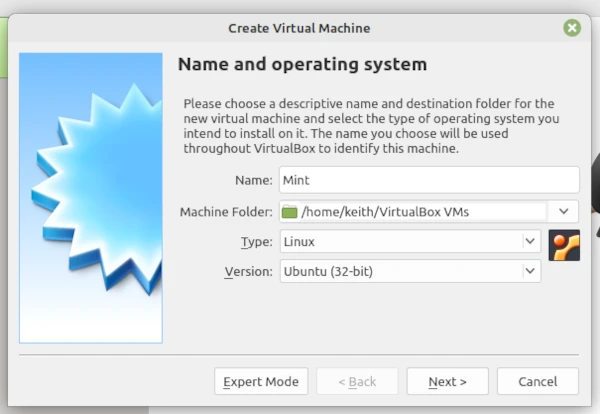
Click New and then in the pop-up enter a name Mint.
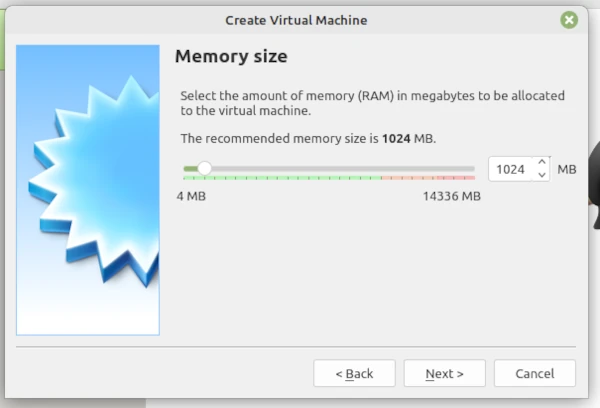
Then click Next. This will show the memory size with a slider accept the suggestion.
Click Next which will pop-up the Create screen so accept and click Create.
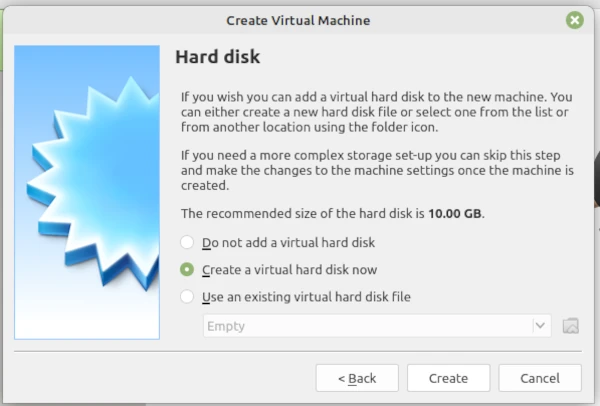
Click Next which will pop-up the Create screen so accept and click Create.
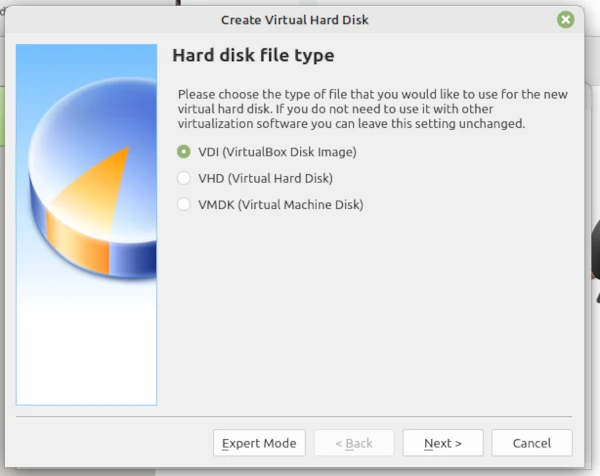
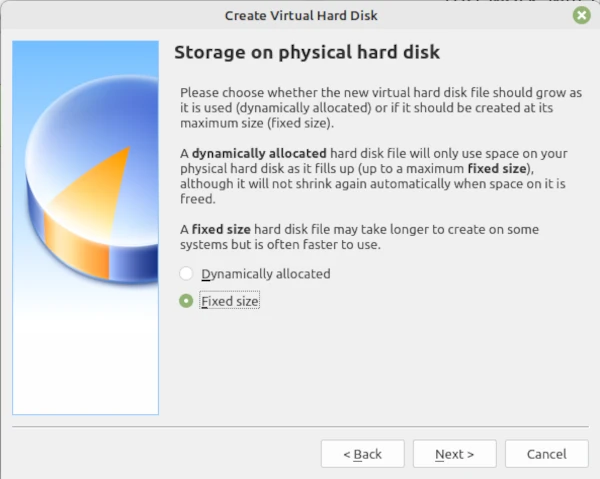
The Hard Disk Type pop-up is acceptable so, click Next to generate the Memory so change the radio button to fixed size for speedy work move the slider to 20 GB then click Next where the work will run.
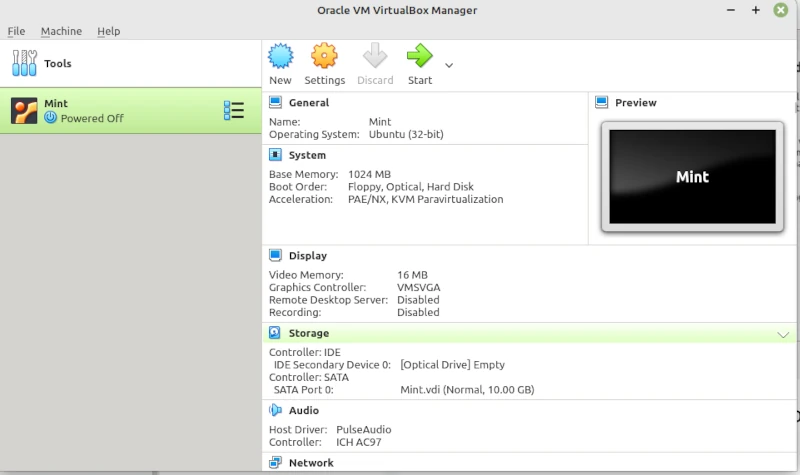
When the Location screen pop-up appears so then you can then click Create.
This should then produce the Start Screen. Click on the Start button then on the pop-up add search for the Linux Mint in the Download directory click on the Iso file then click on Open. This will run the installation and you will see the installation screen for Mint.
You can use the F1 key for more help at any time.
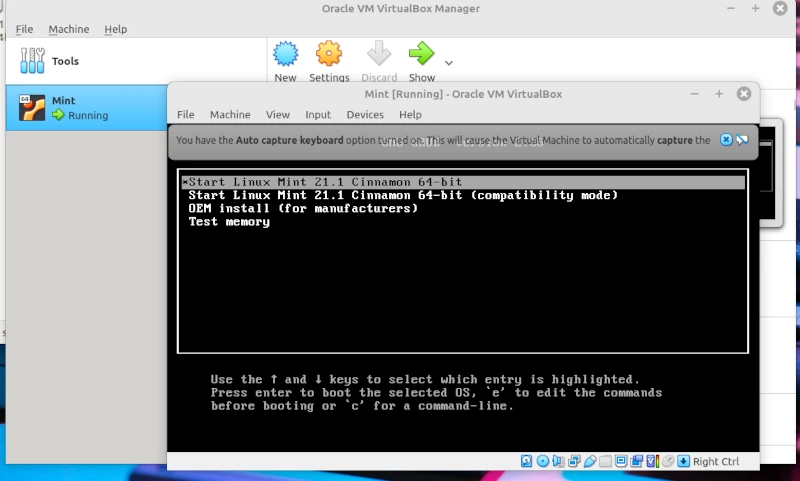
You can then click on the first line Start Linux Mint to do an installation in your virtual machine. You can stop at any time by clicking on the top right blue cross. The Close Virtual Machine pop-up appears The radio button Save the machine state is selected click UK. The Start screen appears where you can start the machine by clicking START.